
In this article, we are going to learn how to use margins and create our own margins in Microsoft Word.
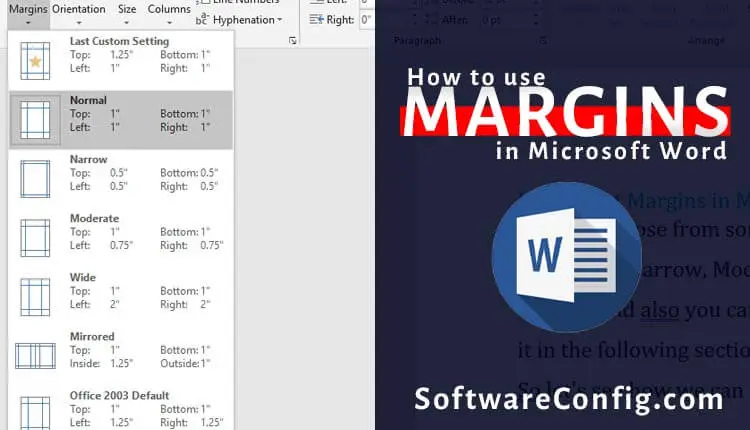
You can choose from some default margins in Microsoft Word, such as Normal, Narrow, Moderate, Wide, Mirrored and Office 2003 default. And also you can create your own margins. We will explain it in the following sections.
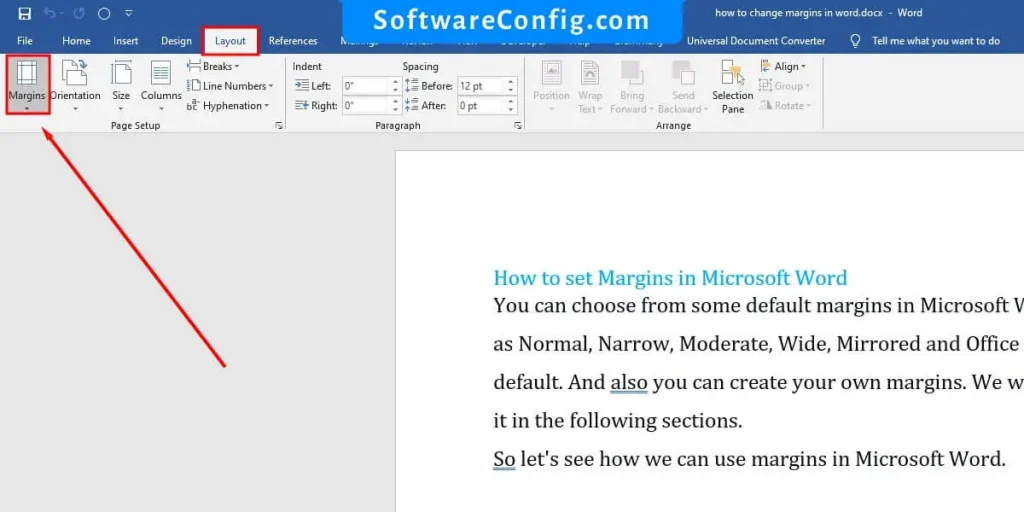
So let’s see how we can use margins in Microsoft Word.
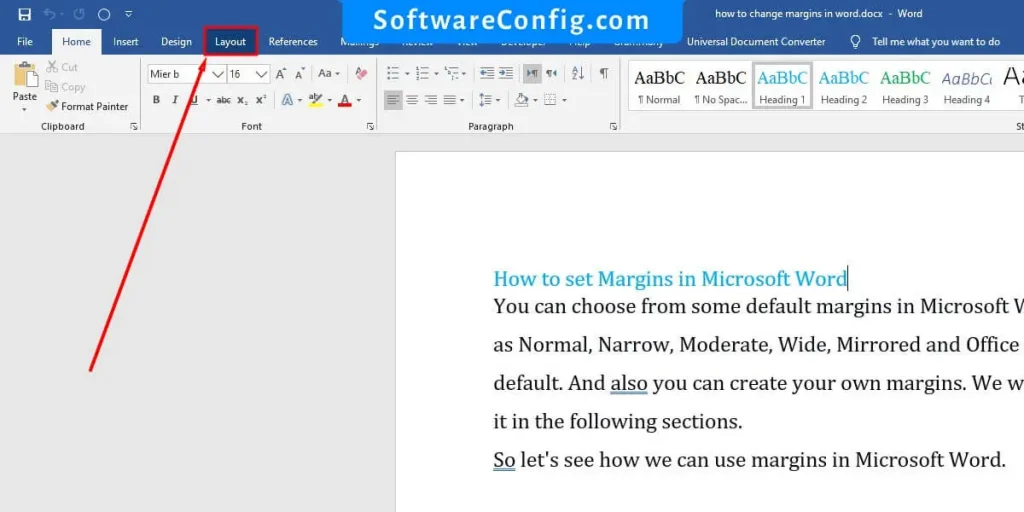
Margins in Microsoft Word
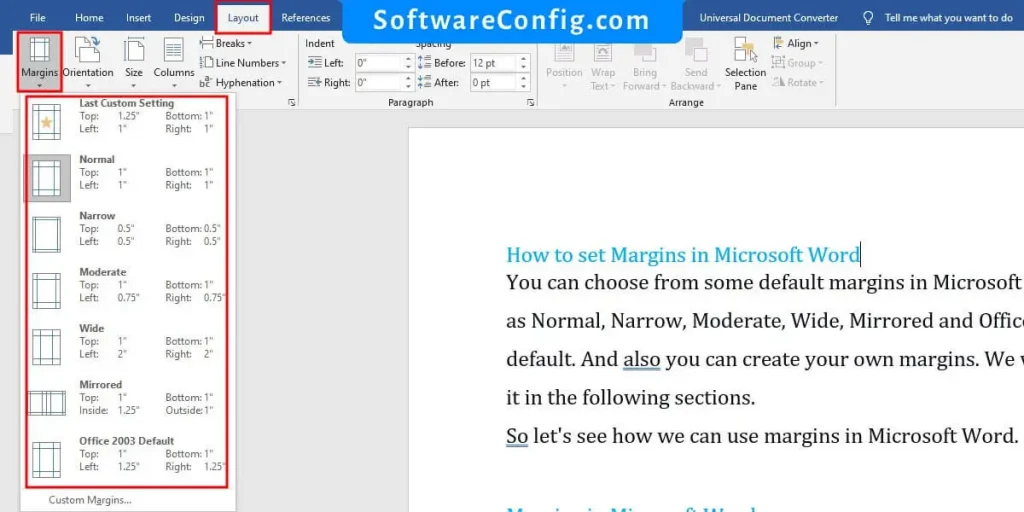
as you can see and previously mentioned, there are five default margins you can choose from(depending on your need).
How to create custom margin in Word
When you click on the “Custom Margins,” the Page Setup window Will Appear. So to create your Desire margins, edit the margins section as you want.
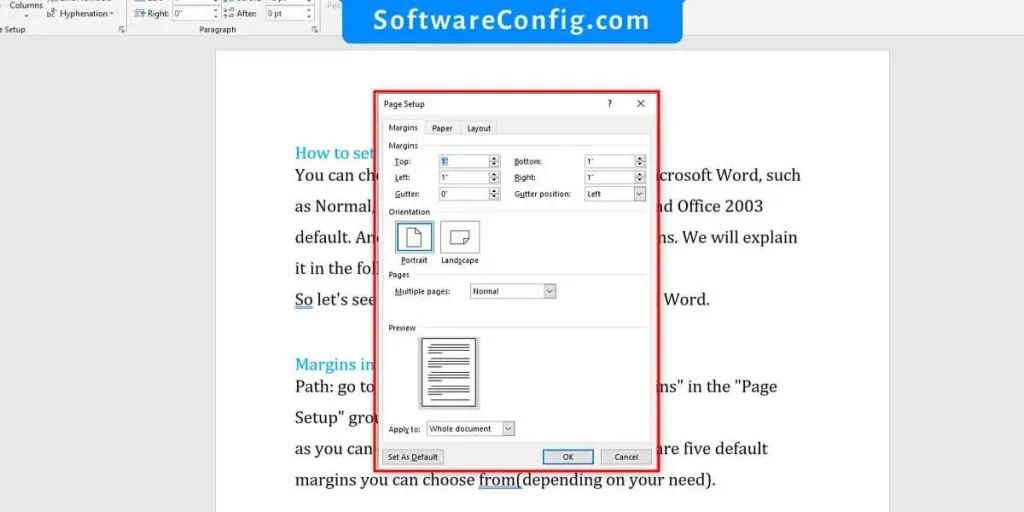
Press Ok, and it will apply to your document.
Notice: as you can see, there is a button at the bottom of the window, Set As Default, that lets you set your setting as the default setting.
Now everything is ok, and you can create and edit your document’s margins. But there is another margin, and it’s different from other margins, the Mirror Margins.
What are Mirror Margins?
You can find Mirror Margins in the Default and the Custom Margin( in the page section > multiple pages drop-down box).
We use Mirror margins to create full documents like reports, books, magazines, or any document with a double-sided page or a particular type of binding.
Notice that when we set the margin type to mirror margins, our whole document will adapt the pages to evens and odds according to the gutter value. The gutter is the amount of extra space to add to the margin that will be attached to the binder or cover, giving us some extra space to ensure that all of the text is readable on the page once it is printed and bound. Keep in mind that the gutter space will be on the right side for odd pages and on the left for even pages.
How to change Margins for one page in Word?
There are some important points that you should know to create different margins in Word or change Margins just for one Page.
Remember that you can only have different Margins once you divide your document into several sections and unlink them together. This is the most important point you should remember.
Now let’s see how to change just one page’s margins.
For example, we want only to change the margins of page 3:
Now we divide our article into three sections; the First one is from the Start page to page number 2, the second one is page number 3, and the last one is page 4 and the next pages.
Double-click on the header or footer to open them; then, you can see different sections.
At this point, we should unlink these sections together. When you open the header, a new Design Tab will appear in the ribbon.
Step-by-Step Unlink the sections:
Now close the header and footers and click on page number 3 and change the margin. You can see that the new margins only apply to page number 3.
Review of what we did
at first, we divide our document into three sections, and after that, we unlink page 3 from the previous pages and page number 4 from the previous page(in this situation, the previous page is page number 3). so what happens? Page 3 will no longer be related to the previous pages, and it can have its margins, but it will have an effect on the next pages. We didn’t want this, so we unlinked page number 4, too. Page number 3 has no effect on the next pages because there isn’t any relation between them.
That’s it, hope it can be helpful for you.